How to Store Outdoor Toys in Winter: Cleaning & Checklist
At a Glance
- How do you store outdoor toys in winter? Clean, completely dry and frost-free.
- A garage or shed works well: store items raised off the floor, with good airflow, and not directly against cold exterior walls.
- Plastic: warm water + mild dish soap, a soft sponge, then dry.
- Wood: wipe with a damp cloth only, never soak, and let it dry slowly in a well-ventilated spot.
- Metal: really rub it dry after cleaning, otherwise it rusts in slow motion.
- Finally, run through the storage checklist and spring will be a breeze.

The best way to store outdoor toys in winter is clean, completely dry and frost-free. That way you avoid mustiness, mildew smells, brittle surfaces and rusty screws, without sacrificing half a Saturday. Here is a practical step-by-step guide: cleaning by material (plastic/wood/metal), proper drying, good storage spots (garage, basement, balcony, garden box) and a clear final checklist at the end. Relaxed in that northern German way and fit for everyday life – after all, here in Hamburg we know “damp” from more than just the weather report. And yes: we have been doing this for 66 years.

Ulli & Flo
Owners of bieco · Hamburg · parents themselves
We have pulled toys out of the garage that smelled “somehow like November”. With clean + dry + stored off the floor, you spare yourself exactly that surprise in spring. Feel free to browse our outdoor toys collection.
How to Store Outdoor Toys in Winter – The Simple Basic Rule
The order is always: clean, dry, store frost-free. This little three-step routine makes the difference in spring between “open the door and start playing” and “why does this smell like an old towel?” Moisture is the main enemy: it encourages mildew on fabrics, makes metal rust and can damage wood over time.

Definition: Storing frost-free means that residual water cannot freeze. In practice, that means no puddles in hollow spaces, no wet crevices and nothing that freezes solid all winter and thaws again.
- Before storing: Sweep off or rinse away sand, soil, leaves and grass clippings.
- Then dry: Open flaps/doors, lay parts apart, let air get to them.
- Finally, stow away: In boxes/shelves, ideally not directly on the floor.
Practical tip: Drying works better when you store things “open”: lids off, flaps open, nothing stacked. Air is the secret hero here.
If you are still looking for ideas about what works well outdoors in wind and weather: in our hub you will find lots of inspiration around outdoor toys – and let’s put it this way: in Hamburg you automatically learn what “rainproof” really means in real life.
How Do You Protect Outdoor Toys from Weather, UV and Rust?
Protection means dry and airy – not wrapped up airtight. Lots of damage happens when toys are “packed away wet”: under tarps without air circulation, moisture stays put, and that is an invitation for musty smells and deposits.
- UV protection: If possible, move toys into the shade now and then in summer; in winter, keep them away from large windows/glass roofs.
- Rain protection: Covers work if air can get in from below. Don’t seal them all the way down to the ground.
- Rust protection: Store metal parts dry and dry them off after cleaning; check screws briefly in autumn.
- Wood protection: Don’t leave wood standing wet for long; after rain, let it dry first, then store/cover it.
Definition: UV radiation is sunlight that makes surfaces age faster. You often notice it in faded colors or in plastic becoming more brittle.
Safety note: If something is cracked, sharp-edged or wobbly, please repair it or sort it out – “it’ll be fine” is rarely a good plan when kids are romping around.
A word on safety, because it simply belongs here: According to the European Commission, safety requirements for toys in the EU are set by the Toy Safety Directive 2009/48/EC and harmonised standards. (Source)
Which Storage Spots Really Work in Winter? (Garage, Basement, Balcony, Garden Box)
The best storage spot is dry, well ventilated and not icy-damp. You don’t have to carry everything into the living room (don’t worry), but choosing the location a little carefully saves you a lot of scrubbing in spring.

- Garage: Practical, but often clammy. Storing things raised and away from exterior walls helps.
- Shed: Works well if it isn’t permanently damp and air can circulate.
- Basement: Only if it is dry. In very damp basements, things quickly turn musty.
- Balcony: Only for truly weatherproof items and ideally under a roof or overhang, covered but airy.
- Garden box: Practical, but please only with completely dry contents and an occasional check.
If you have a lot of sand and water toys: collecting and sorting helps enormously – for example in one big crate. Matching this: water toys for the garden (for the season, not for winter hibernation).
How to Store Outdoor Toys in a Garage – Without Mustiness and Mice
A garage is great if you outsmart floor cold and moisture. Many garages are cold in winter and clammy in autumn. You don’t need to heat anything, but you should store things so that condensation and “corner climate” don’t stand a chance.

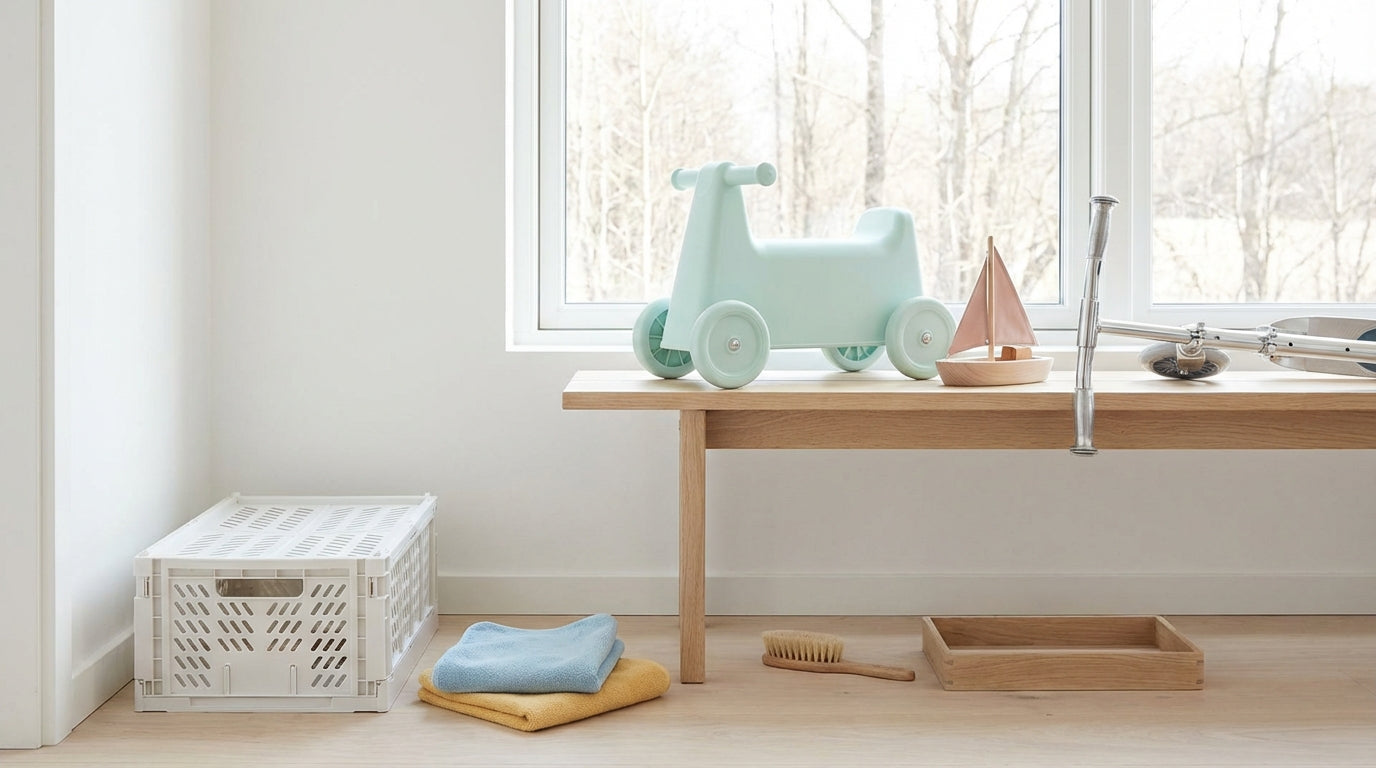
- Store raised: Shelves, sturdy crates or a pallet – the main thing is off the floor.
- Ventilation: Don’t stuff everything airtight into bags; better to use boxes with lids that are not closed while dripping wet.
- Separate materials: Keep fabric/cushions apart from sand toys (which like to bring residual moisture along).
- Keep your distance: Don’t press wood and plastic directly against cold exterior walls.
- Pest check: Look into corners now and then and remove “snack treasures” from playhouses.
For little children, extra care is worthwhile: their toys are handled more often (and yes, sometimes “tasted”). Feel free to take a look at outdoor toys for toddlers – and store these items especially dry and clean.
Before Storing: This 10-Minute Checklist Saves You Trouble
A short routine in autumn noticeably extends the lifespan. And in spring you don’t start with a deep clean, but with “take it outside”.
- Gather everything: Including small items (sand molds, balls, buckets, chalk).
- Rough clean: Sweep/rinse off, get the sand out, remove leaves.
- Empty: Drain water from tables, watering cans, squirt toys, small pools.
- Pre-wash: If needed, go over everything once with mild soapy water.
- Dry completely: Open flaps, take parts apart, let air get to them.
- Check screws/connectors: Loose? Tighten them.
- Check for cracks/breaks: Take out anything that could become sharp.
- Fabrics separately: Nets, seat cushions, tents – store clean and dry.
- Label: Boxes with “sand”, “water”, “vehicles” – April-you says thank you.
- Store raised: Not on the garage floor, not directly against exterior walls.
Practical tip: Let the kids play “inventory”: who can find all the sand molds? That’s tidying up with applause instead of arguments.
How Do You Clean Outdoor Toys Properly (Plastic, Wood, Metal)?
Warm water, mild dish soap and a soft sponge are usually enough. You rarely need harsh cleaners – and with children’s things, “mild and rinsed off thoroughly” is the more relaxed choice anyway.
Important for all materials: Test new cleaners on an inconspicuous spot first so you don’t roughen or discolor a surface. Especially with painted parts or printed areas, that is a small insurance against big frustration.
Plastic (Slides, Playhouses, Sand & Water Tables)
Gentle scrubbing is better than aggressive scouring. Scratches hold on to dirt – and then you clean twice as much next year.
- Mix: Warm water + a small squirt of mild dish soap.
- Method: Rinse off the worst dirt, soap up, let it work briefly, rinse off.
- Corners & grooves: A soft brush or an old toothbrush.
- Afterwards: Rub dry with a cloth or let drain well.
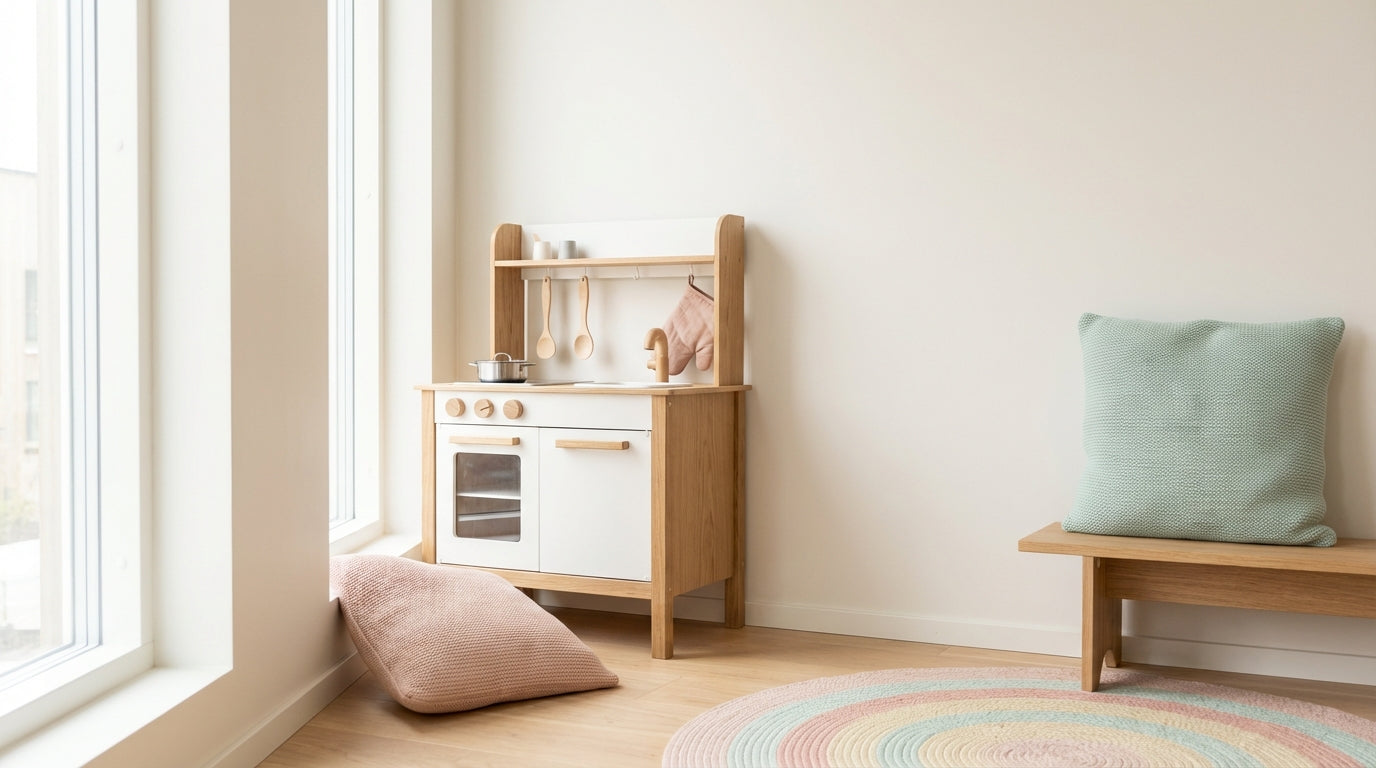
Wood (Play Kitchens, Small Outdoor Furniture, Wooden Vehicles)
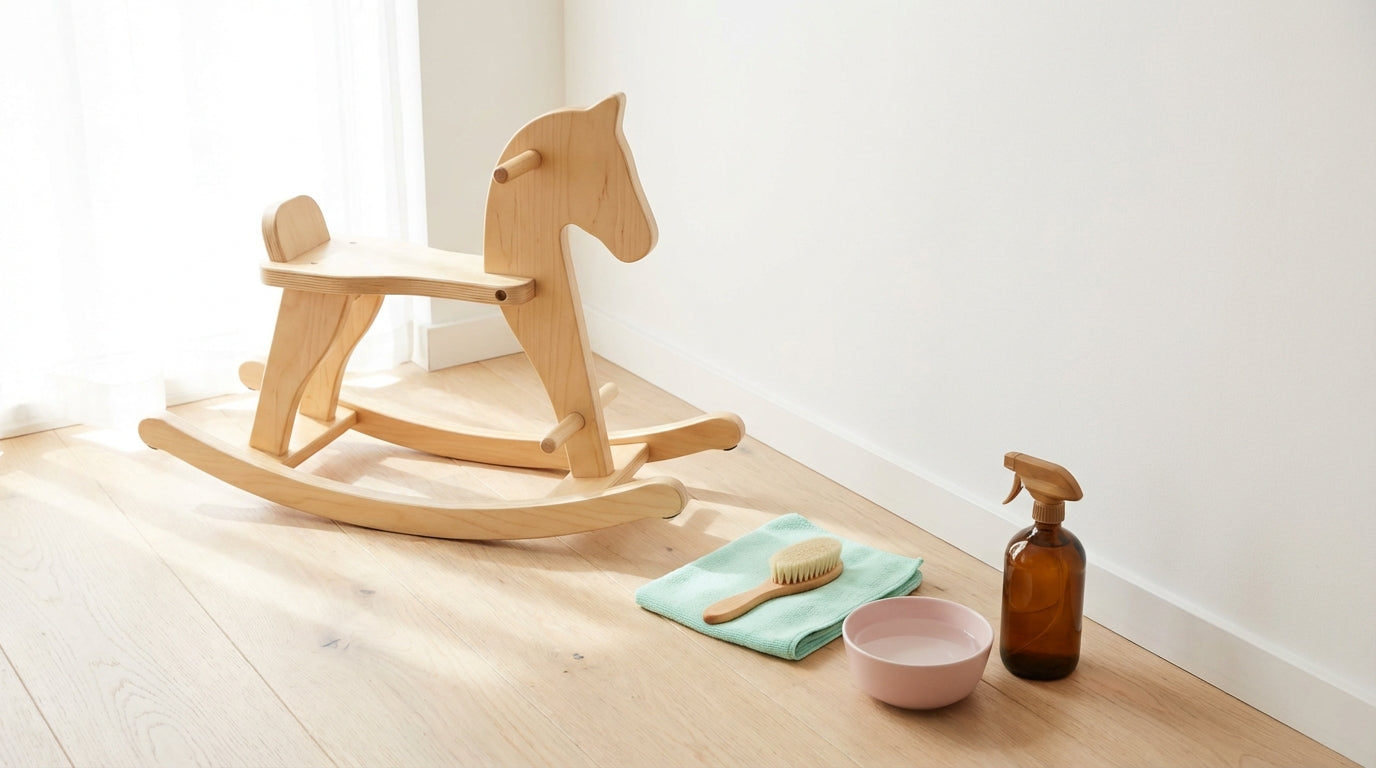
Wood likes it damp, but not “soaked through”. So wipe with a damp cloth rather than soaking, and then let it dry in peace.
- Cleaning: Damp cloth + mild soapy water; not dripping wet.
- Crevices: Work carefully with a soft brush, don’t fray the wood.
- Drying: Upright/airy, so no standing moisture builds up.
- Check: If something feels rough or splinters: better to rework/repair it before little hands touch it.
Metal (Goals, Small Vehicles, Screwed Parts)
Metal parts must be truly dry after cleaning. Otherwise rust creeps in – and in spring suddenly nothing rolls anymore.
- Cleaning: Wipe with a damp cloth, mild soapy water if needed.
- Afterwards: Rub dry, especially at screws, axles, edges.
- Moving parts: Move them through once and check whether anything sticks.
Drying After Cleaning: How to Avoid Musty Surprises
Completely dry means: also in hollow spaces, crevices and under seats. That is exactly where water likes to linger, even though everything looks “dry” on the outside.
- Open up: Lids, flaps, doors open – anything that lets air in.
- Set up: Position parts so water can run off (not “bowl facing up”).
- Wipe: Help along with a cloth, especially on metal and screws.
- Give it time: Better one day longer than musty once.
How Do You Clean Step2 Outdoor Toys? (Without Ruining the Surface)
According to Step2, mild soap + water or 50/50 vinegar and water are suitable. According to Step2 (cleaning guide), abrasive pads such as steel wool should also not be used, and electronic/battery-operated areas should not be soaked. (Source)
- Everyday dirt: Rinse off, mild soapy water, soft sponge, rinse well.
- Alternative: 50/50 vinegar and water for surface dirt, then wipe with water.
- Details: Toothbrush for grooves, joints and corners.
- Important: Test on an inconspicuous spot first, especially with stickers/prints.
Safety note: Never mix aggressive cleaners. And if you use vinegar: wipe well with water afterwards so nothing smells or feels sticky.
Mold, Musty Smell, Green Deposits: What to Do?
With mold, the rule is: protection first, then cleaning – and finally dry completely. If you have to remove mold, work with as little dust as possible and protect yourself. According to the German Environment Agency (Umweltbundesamt), protective gloves and respiratory protection, among other things, are recommended when removing mold. (Source)
- Light mustiness: Wash thoroughly and then let dry very well; with lots of air circulation if possible.
- Deposits in crevices: Work with a soft brush and mild soapy water, then rinse thoroughly.
- Fabric/cushions: If the smell/deposit runs deep and won’t come out: replacing is often the most nerve-saving solution.
Repair Instead of Throwing Away: A Little Winter Treatment, a Big Effect
A quick check saves you wobbling, squeaking and frustration in spring. And often it really is little things: a loose screw, a missing plug, a part that was stored wrongly.
- Tighten screws: Check all around once, without using force.
- Check edges: If something turns sharp: repair it or sort it out.
- Collect small parts: In a labeled tin, so nothing has to be searched for in April.
Final Checklist: Storing in 7 Points
If you can tick off these 7 points, you are done. And yes: “done” is a lovely word.

- Clean: Coarse dirt, sand, leaves removed.
- Empty: Everything that holds water has been emptied.
- Dry: Crevices and hollow spaces are dry, too.
- Checked: Cracks, sharp edges, loose parts checked.
- Sorted: Fabrics separate, small parts collected.
- Raised: Not stored directly on the floor.
- Airy: No moisture trapped, occasional checks possible.
FAQ
How do you store outdoor toys in winter in the garage?
In the garage, it is best to store outdoor toys raised, dry and with air around them. Use shelves or sturdy crates, keep your distance from cold exterior walls and don’t pack away anything that is still damp inside. Check briefly now and then for a musty smell – garages are often clammy in autumn/winter.
What can I do about a mildew smell on outdoor toys?
Against a mildew smell, what usually helps is: clean thoroughly and then let dry completely. Work with mild soapy water and a soft brush, rinse well and give the toys plenty of air to dry (flaps open, not stacked). With heavy mold, please observe protective measures; according to the German Environment Agency, gloves and respiratory protection, among other things, make sense.
Can plastic toys stay outside over winter?
The most reliable approach is to store plastic toys dry and frost-free in winter. Outdoors, freeze-thaw cycles and standing water in hollow spaces are typical problem areas. If they absolutely have to stay outside, then emptied, set up so they drain well and covered airily – not packed airtight.
How do you clean wooden outdoor toys without damaging them?
It is best to clean wood only with a damp cloth and mild soapy water. Avoid long soaking so the material doesn’t absorb water unnecessarily. Afterwards, let it dry slowly and in a well-ventilated spot so no standing moisture builds up. If splinters form or edges get rough, better to repair them before little hands touch them.
How do I get the metal parts on outdoor toys through winter without rust?
You prevent rust above all by drying consistently after cleaning. Wipe metal parts dry after washing, pay special attention to screws, axles and edges and don’t store them in damp corners. A quick autumn check (loose screws, wobbly connections) helps so that nothing sticks in spring.
How do you clean Step2 outdoor toys properly?
According to Step2, mild soap and water or a 50/50 mix of vinegar and water are suitable. Use a soft sponge or a soft brush and rinse thoroughly. Abrasive pads such as steel wool should be avoided, and battery-operated areas should not be soaked. (Source)
One last relaxed thought: you don’t have to do everything perfectly – but “clean + completely dry + off the floor” is already half the battle. When you want to get going again in spring, feel free to browse our outdoor toys or take a look at the matching guide Outdoor Toys for Kids: Our Recommendations for the Garden.
And because transparency is more than just a word for us: we are a family business from Hamburg, and we have been taking a close look at toys for 66 years – materials, workmanship and safety should remain understandable for families.