Article: Painting Baby Bibs: Step-by-Step Guide, Safe Paints, Designs & Care
Painting Baby Bibs: Step-by-Step Guide, Safe Paints, Designs & Care
At a glance
- Time: approx. 20–40 min. + drying/setting time (depending on the paint)
- Difficulty: easy
- Painting baby bibs works best on light, smooth fabric with a cardboard insert.
- Only use textile paints or pens that come with clear setting and washing instructions.
- Test your design first (on paper or a scrap of fabric), then work in thin layers.
- Setting the paint (often by ironing) is the step that makes it more wash-resistant.
- For gifts: a name, a date and a little symbol always feel heartfelt.

Painting baby bibs is easy when you choose the right fabric, paint and setting method. You don’t need the steady hand of a surgeon, just careful preparation and a design that suits your everyday life. In this guide you’ll find a step-by-step tutorial, design ideas (even for “I can only draw stick figures”), typical mistakes with a rescue plan, and tips on care & durability. And yes: it works just as well squeezed in between dinner and the bedtime routine.
Which bibs are suitable for painting?
Light, smooth bibs made of cotton or a cotton blend are the most rewarding. The more even the surface, the cleaner your lines, lettering and edges will be. Very fluffy terry surfaces soak up paint – that can look charming, but fine details quickly turn as foggy as a Hamburg morning.
Anything that lies flat and isn’t very stretchy is helpful. If the fabric shifts while you paint, your design shifts with it. Classic bibs or sleeved bibs with plenty of surface area are practical – there’s room for a name plus a design without it looking squeezed.
- Light & solid-colored: white, natural, pastel – designs look clearer.
- As smooth as possible: woven fabric is often easier than heavily textured fabric.
- Enough space: a large front area makes things more relaxed.
Safety note: Painted areas can end up in the mouth when your baby drools or chews. Only use products that are expressly intended for textiles, and follow the setting and washing instructions strictly.
If you’re looking for a good base, choose a style that spreads out flat. In the bib collection you’ll find various shapes as a starting point. And if you want lots of painting space (with sleeves covered at the same time): sleeved bibs are wonderfully practical for that.
Which paints are suitable – and how do I know what’s “right”?
Textile pens and textile paints are the most sensible choice for bibs. They’re made to stick to fabric and, once set, to be more wash-resistant (depending on the product). Regular felt-tip pens are fine for crafts, but in the wash they’re often a drama in several acts.
Textile pens are great for names, lines and small symbols. Textile paint from a bottle or pot is strong for filled areas, dots, stamps and stencils. Combining them works well: first dab on the area, then trace the outlines with a pen.
Shopping safely (short & practical):
- The packaging clearly states: suitable for textiles (not just “craft paint”).
- There are setting and washing instructions (without them, things often get frustrating later).
- Helpful search terms can be: “suitable for baby textiles”, “saliva- and sweat-proof” or references to tests/standards such as OEKO‑TEX® STANDARD 100 or EN 71-3 (if stated). That’s not a guarantee, but it’s a good compass.
If you like to read up on it: according to OEKO‑TEX®, STANDARD 100 describes a testing system for harmful substances in textiles; Product Class I has the strictest requirements for babies and toddlers up to 3 years (OEKO‑TEX®).
Preparation: what you need (and what you can skip)
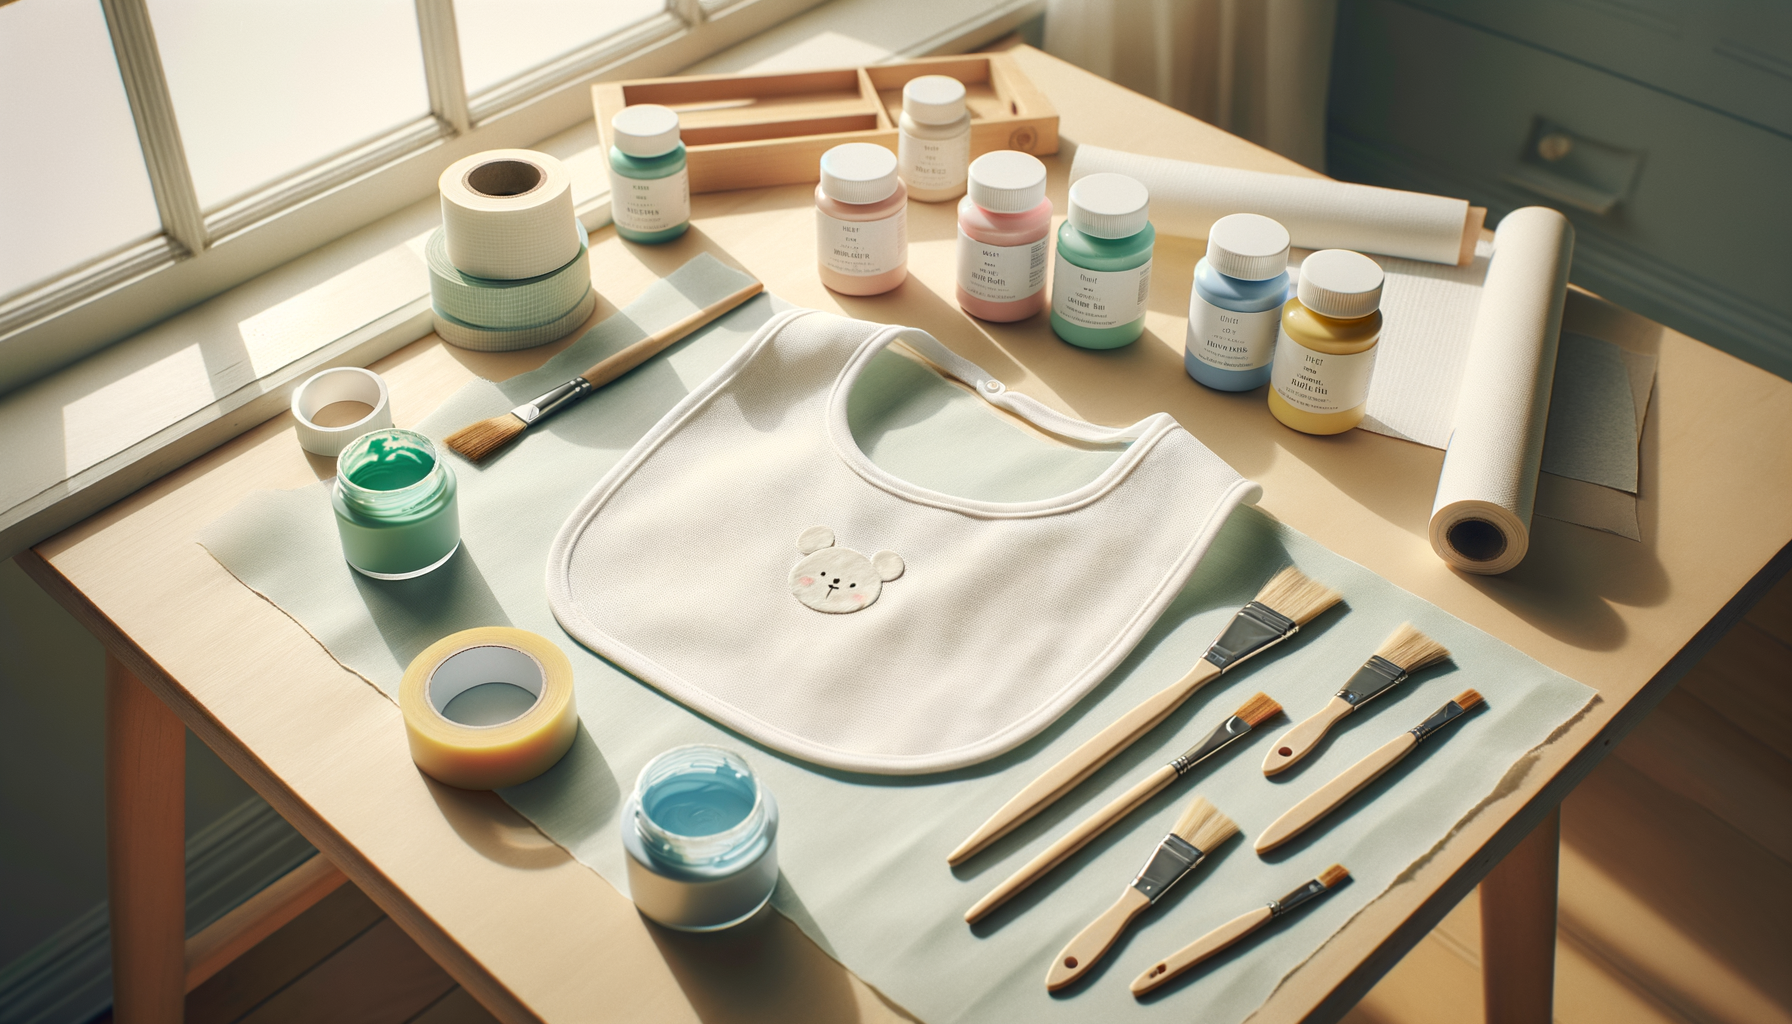
With a small basic kit you’ll be ready to go in no time. And yes: paper towels aren’t a “nice to have”, they’re the secret star of the show.

- Bib (light, as smooth as possible)
- Textile pens and/or textile paint (with setting instructions)
- Firm insert (cardboard or thick baking paper)
- Painter’s tape or clips for holding the fabric in place
- Pencil (HB) for sketching
- Brushes/sponges (for filled areas), cotton swabs for dots
- Work surface cover (old cloth, baking mat, newspaper)
Practical tip: Slip the insert in and tape the fabric down so it’s slightly taut. This keeps your lines steadier – even when someone is calling “Mommyyyy!” in the background.
Pre-washing & drying: is it really necessary?
If the bib is new or you don’t know whether it has been washed yet: wash it once beforehand. Without fabric softener, then let it dry completely. This removes possible finishes, and the paint often takes more evenly.
Has the bib already been through the wash a few times? Then you can usually skip pre-washing. Above all, it’s important that it’s truly dry before painting, not just “feels almost dry”.
Painting baby bibs: step-by-step guide
Things turn out neat when you start slowly and only then pick up speed. Most slip-ups don’t come from lack of skill, but from “I’ll just do this quickly”.

- Set up your workspace: spread out the cover, have paper towels ready, hands clean.
- Put in the insert: slide cardboard into the bib so nothing soaks through.
- Secure the fabric: tape it down slightly taut with painter’s tape (don’t pull it like a sail).
- Plan your design: decide on the size and, if needed, test it once on paper.
- Sketch lightly: use little pressure (so nothing shows through later).
- Apply the paint: light shades first, then dark. Thin layers dry more evenly.
- Let it dry: better to wait once more than to wipe once.
- Set the paint: exactly as the manufacturer specifies (often ironing; time/temperature depend on the product).
- First wash: if possible inside out, mild detergent, on a gentle cycle.
Setting & washing – quick guide
- Order: let it dry completely → set according to the instructions → only then the 1st wash.
- Do: preheat the iron, work without steam, place baking paper or a second thin cloth between the design and the iron.
- Do: use even pressure, more “press down and hold” than scrubbing back and forth.
- Don’t: don’t set the paint while it’s still damp (it will smear or stick).
- Don’t: don’t wash too early. And when washing: preferably inside out, mild, gentle – whatever the paint/instructions allow.
- Common setting mistakes: steam on, forgetting the protective paper, too impatient (still damp), too much friction while ironing.
When setting, the manufacturer’s instructions come first – and then work neatly in order. In practice it often helps to let the design dry completely, preheat the iron, iron without steam and place baking paper (or a second thin cloth) in between. Press evenly, don’t “scrub”. And if the edges are still damp: better to wait than to rush them along.
Safety note: Setting with heat (e.g. an iron) should only be done by adults. Place baking paper between the design and the iron so nothing smears or sticks to the iron.
Design ideas: quick, pretty, everyday-friendly
The best designs are the ones you can pull off without stress. A bib isn’t a museum piece – it’s loved, splattered, washed and loved again. So: better clear and friendly than overambitious.

1) Classics that always work
- Name + mini symbol: star, heart, cloud, anchor (very Hamburg, of course).
- Initial in large size: one letter in the middle, with dots or small strokes around it.
- Confetti dots: dab them on with a cotton swab – instantly looks cheerful.
- Stripes: use painter’s tape as a border, then dab on the paint.
2) Keepsakes (without much effort)
- Hand- or footprint: add the date – and you have a “Remember when?” piece.
- Monthly symbol: very simply painted, but it feels personal.
- Saying: keep it short. Three words are often completely enough.
A stencil is a cut-out shape through which paint is dabbed onto the fabric. It’s the relaxed shortcut to clean edges – especially if you don’t want to study art on the side.
Practical tip: For names: write it on paper first in the size you want. Lay the sheet next to you – it’s your calm “cheat sheet” when your concentration starts to drift.
Common mistakes (and how to rescue them)
Most mishaps can either be avoided or kindly disguised. Here are the classics – including “What now?”.
- Paint soaks through: insert forgotten or painted too wet. Next time: firm cardboard, thinner layers.
- Smeared: kept painting too early or rested the heel of your hand on wet paint. Rescue: extend the design “on purpose” with dots/little stars.
- Cracks after washing: paint applied too thickly. Next time, better two thin layers.
- Lettering crooked: rescue: add a second line underneath, e.g. the date or a small symbol, so it looks “intentional”.
- Pencil visible: pressed too hard. Next time, sketch very lightly or work with a stencil.
First aid when it’s just happened
- Wet paint: don’t rub. Dab with a paper towel and let it dry first.
- Small edges/slip-ups: carefully “pick them up” with a slightly damp cotton swab (test on a scrap of fabric first).
- Bleeding: don’t keep smearing in a panic. Better to turn it into a look: continue it as a watercolor, calm it down with dots/a frame, or think of the design bigger.
Care & durability: how to keep the design looking nice for longer
Durability comes from preparation, patience and correct setting. That’s not glamorous, but it’s reliable – like a good wool sweater.

- Set first, then wash: otherwise the paint can bleed or fade.
- Start gently: for the first wash, go mild and not too hot, unless the instructions say otherwise.
- Wash inside out: less friction on the design.
- No fabric softener if possible: it can leave residue.
- Air drying is often gentler: a dryer means more mechanical stress.
If you’re giving something as a gift, a quick everyday check is worthwhile: run your hand over it once. Has paint turned thick and hard anywhere? Then it’s better to set it again according to the instructions, or to use thinner layers for the design next time.
Mini checklist before gifting
A DIY gift is loveliest when it can actually be used. These five points take two minutes:
- Smell: Does it still smell strongly of paint? Then let it air out longer.
- Surface: No thick, crumbly paint edges.
- Setting: Done according to the instructions (temperature/time).
- Wash test (if possible): rinse or wash it briefly once, if the instructions allow.
- Info note: include a care note for the parents (short, friendly).
Care note for the gift (copy & paste):
Please wash only after the paint has fully dried & been set (depending on the paint/manufacturer’s instructions).
Wash inside out, mild detergent, no fabric softener.
Air dry if possible; follow the manufacturer’s instructions for the textile paint used.

Ulli & Flo
Owners of bieco · Hamburg · parents ourselves
We like DIY that really keeps up with family life – without a big fuss. If you’re looking for a good base: in the bib collection you’ll find lovely shapes to start with, and our sleeved bibs are the “lots of space, little stress” option.
FAQ
Which paint is safe for babies?
The safest options are products that are clearly suitable for textiles and come with unambiguous setting instructions. Look for transparent manufacturer information and only use paints/pens intended for textiles. For textiles, STANDARD 100 can serve as a guide; according to OEKO‑TEX®, Product Class I has the strictest requirements for babies up to 3 years (OEKO‑TEX®).
How do I set textile paint on a bib correctly?
Always set it exactly according to the manufacturer’s instructions, often with heat (ironing). In practice it usually helps to let it dry completely, preheat the iron, work without steam and place baking paper (or a thin cloth) in between. Press evenly, don’t scrub, and only wash once it has been set.
How wash-resistant is a painted bib?
With good preparation and correct setting, the design lasts significantly longer. Exactly how long depends heavily on the product, paint application and washing method. Thin layers, enough drying time and washing inside out help. If the bib goes through the wash every day: better to choose simple designs.
Can I paint a bib with regular felt-tip pens?
For everyday use that’s usually not a good idea, because regular felt-tip pens often bleed. If you want lettering or outlines, use textile pens. They’re made for fabric and, depending on the product, can be set so they run less in the wash.
What should I do if I made a mistake or it smeared?
Usually “designing over it” helps more than frantic rubbing. First just dab, let it dry and turn the blob into a little symbol. Confetti dots, a frame or a “watercolor look” rescue more than you’d think. And honestly: with bibs, you rarely see only the design later anyway.
Pre-washing & drying: is it really necessary?
For new or unknown textiles: yes, wash once beforehand – without fabric softener. Then let it dry completely before you get started. If the bib has already been washed and is lying clean in the drawer, you can usually skip pre-washing. What stays important: paint it dry, set it dry.
From what age can children join in painting bibs?
Joining in works as early as toddlerhood, if you supervise closely and prepare everything. Dabbing, stamping or a handprint are simple techniques. Fine lettering and clean outlines are more of a grown-up job – and that’s not a defeat, it’s self-care.
One last relaxed thought: if it doesn’t turn out “perfect”, it will still be a favorite – because it comes from you. And if you’ve caught the bug after the first bib: the second one is usually half as daunting.