Making Sensory Toys Yourself: 5 Easy DIY Ideas for Home
At a Glance
- Making sensory toys yourself: 5 ideas with minimal materials and minimal mess.
- For children under 3: big, sturdy, securely closed, and checked regularly.
- Sensory bottles work wonderfully – as long as the lid is truly sealed for good.
- DIY works better when every idea has a clear goal: seeing, feeling, hearing.
- A quick safety check before every playtime will save your nerves later.

Making sensory toys yourself means choosing one sensory idea and packaging it in a child-safe way. You don’t need a craft extravaganza or a free Saturday – more like 10 to 30 minutes and a few things from around the house. In this guide, you’ll get five DIY ideas with materials, time, age, play variations and a safety check. As we say up in northern Germany: better simple and sturdy than fancy and wobbly. (Kids are far more forgiving about that than we are, anyway.)

Ulli & Flo
Owners of bieco · Hamburg · parents themselves
We love DIY sensory play because it often brings so much joy of discovery with so little effort. And if something ends up glued a bit crooked: tape can do more than you’d think. Feel free to browse our sensory toys collection.
Table of contents: Jump straight to the idea that suits you.
- Starting stress-free: How to go about it
- Materials list: What you really need
- DIY idea 1: Sensory bottle
- DIY idea 2: Touch bag
- DIY idea 3: Sound tin
- DIY idea 4: Sensory board (busy board light)
- DIY idea 5: Sorting & pouring tray
- Which materials are safe?
- Checking DIY toys before every use (checklist)
- FAQ
How can you make sensory toys yourself – without stress?
It’s easiest if you decide on the sensory goal first and then “package” it safely. Sensory play doesn’t have to be loud or complicated: it’s enough if your child can see, feel or hear something – and you don’t have to call out “Not in your mouth!” every two minutes.
Sensory toys are play materials that offer sensory impressions in a targeted way. For children, that means pressing, shaking, looking, comparing – at their own pace, without much instruction.
The small parts cylinder (Ø 31.7 mm) helps you judge small parts. According to the Bavarian consumer portal (LGL), parts count as small parts if they fit into this test cylinder. Source
Safety note: Do not use detachable small parts for children under 3 years. According to the Bavarian consumer portal (LGL), toys for children under 3 must not contain detachable small parts; small parts are those that fit into a test cylinder (Ø 31.7 mm). Source
And a quick word from Hamburg, no fuss: We’re a family business from Hamburg and have been doing this for 66 years – and still, with DIY it’s always the same: you check, you decide, you stay nearby. If something looks wobbly to you, it usually is.
Materials list: What you need for the 5 DIY ideas
With a few basics, you can cover almost all of these sensory ideas. You don’t need to rush out shopping – a lot of it is probably in that famous “drawer with all the odds and ends”.
- Containers: empty PET bottle with screw cap, sturdy tins with screw lids, sturdy zip bags (double them up if you like)
- Large filling materials: big pom-poms, fabric scraps, sponge pieces, wide ribbons, large lids
- For older children (only if suitable & well secured): rice, lentils, pasta, small natural materials
- Tools: scissors, funnel, waterproof pen, adhesive tape; hot glue only for adults
- For securing: strong adhesive tape, if needed insulating tape for lids, a label for writing on (a date is handy)
Practical tip: Put together a mini “sensory kit”: tape, funnel, 2 zip bags, 1 empty PET bottle. Then you’re ready on the spur of the moment.
DIY idea 1: Making a sensory bottle (the classic)
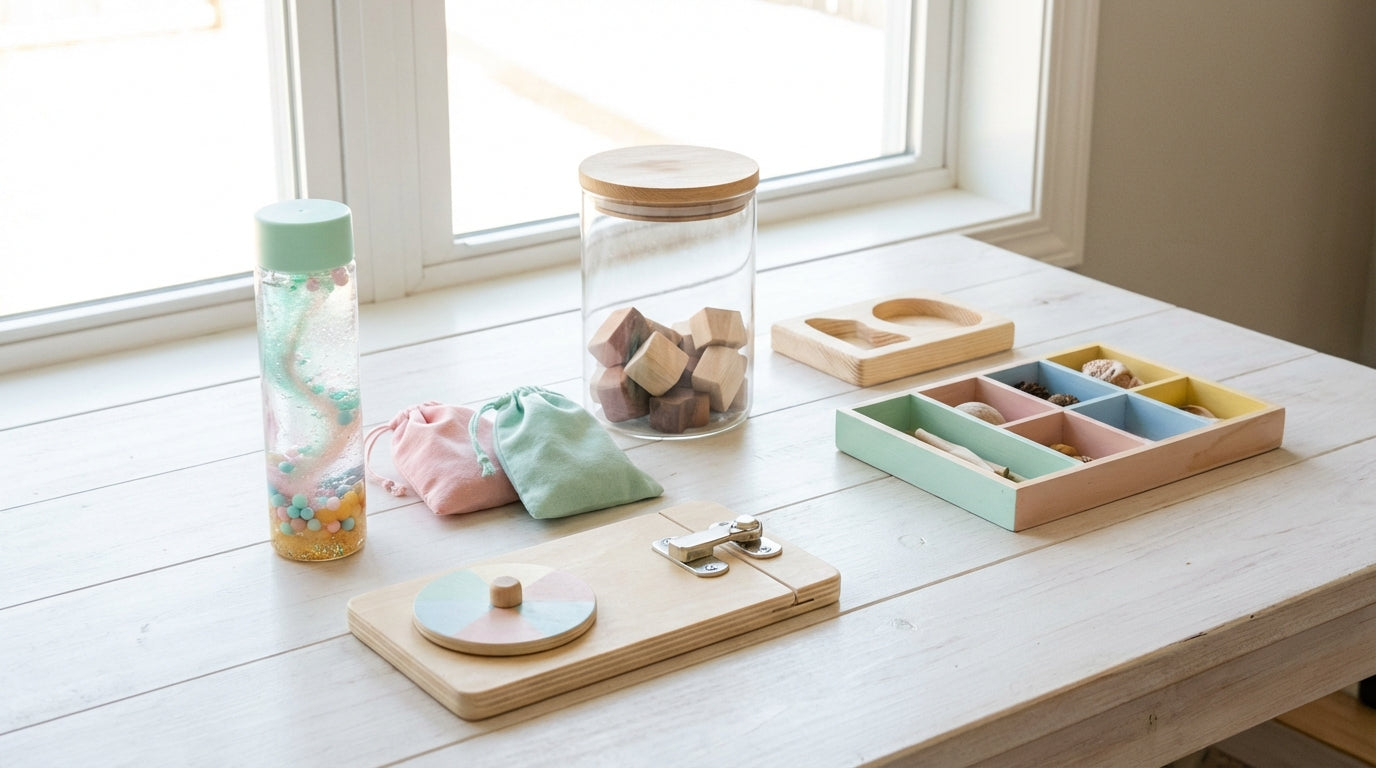
A sensory bottle is a tightly sealed container with moving contents to look at. It’s often surprisingly captivating – and yes, sometimes calming too, when the day has already been loud enough.
Materials
You basically only need a bottle, water and a little “movement”. It’s best to use a sturdy PET bottle with a screw cap, water, optional food colouring and large filling material (e.g. large sequins/confetti, large soft pieces).
Steps (approx. 10 minutes)
- Check the bottle: No cracks, lid intact, thread clean.
- Fill: Pour in water, optionally tint it very lightly (food colouring).
- Choose an effect: If you want it more viscous, use only a little and test it first – sticky is rarely a win at home.
- Secure the lid: Twist it on tightly and secure it all the way around with strong adhesive tape.
- Seal test: Shake and roll it vigorously over the sink.
Play variations
With small changes, one bottle turns into “several”. Make a “calm” one (little inside) and a “wild” one (more inside), or sort by colour: “Can you find the blue one?”
Safety
The lid is the most important part of the whole project. If it comes off, water and contents quickly become a slipping and choking hazard, so check regularly and, with younger children, only work with large pieces that can’t be swallowed.
Age
For babies and toddlers, the sensory bottle is often the most practical option. It’s easy to grasp, makes very little mess and (with a secure closure) can be offered well under supervision.
If you’d rather browse than craft: In our sensory toys overview you can see what sensory play can look like in everyday life – without tape on your fingers.
DIY idea 2: Touch bag (feely bag) – quick, quiet, sofa-friendly
A touch bag is a closed bag in which children feel and squeeze shapes. Ideal for the sofa, the car, or the phase of “I’m cooking, you’re helping me … by not helping at the stove”.
Materials
A zip bag plus soft, large filling is all you need. Use a sturdy zip bag (double it if you like), large pom-poms, fabric strips, sponge pieces; for older children possibly rice/lentils (only if truly sealed and suitable).
Steps (approx. 5–8 minutes)
- Prepare the bag: Check the bag for tears, double it up if needed.
- Fill: Put in just a little at first, you can add more later.
- Close: Seal the zip and additionally secure the edge with tape.
- Test: Press, knead, shake – if it crackles or opens: start over with a new one.
Play variations
Short tasks work better here than long rules. “Push everything into one corner”, “Find the soft one”, “Make a mountain”, “Can you guess the shape?”
Safety
The bag has to stay sealed, otherwise it quickly turns into loose small parts. For children in the mouthing phase, use only soft, large pieces and always stay close by.
Age
Exciting for many children from babyhood on – as long as the filling is big enough. The smaller the child, the larger and softer the pieces should be.
DIY idea 3: Sound tin (rattle alternative) – but please with large pieces
A sound tin offers different sounds without you needing ten rattles. You’re building “hearing you can hold” – and can find out along the way which sound your child finds exciting.
Materials
What matters is a secure screw lid and a sturdy tin. Use a sturdy tin with a screw lid (bigger is better), plus large filling material that doesn’t splinter or crumble (e.g. large wooden rings or larger natural materials that are dry and clean).
Steps (approx. 10 minutes)
- Choose a container: Check the tin: lid closes cleanly, no sharp edges.
- Fill: Only enough that it still “works” and doesn’t just rattle.
- Secure the lid: Screw it on tightly and secure it all the way around with tape.
- Compare: Make 2–3 tins with different fillings and play “loud/quiet”.
Play variations
Comparing is what makes this so appealing. “Which one is louder?”, “Which one sounds bright?”, “Can you find the tin that sounds like rain?”
Safety
For children who still put everything in their mouths, unscrewing the lid is a realistic risk. In that case, please offer it only under direct supervision, or better yet stick with variants that are firmly glued or secured.
Age
For toddlers more as a supervised game, for older children more freely. If your child loves unscrewing things, that’s a sign: better not to hand it over unsupervised just yet.
DIY idea 4: Sensory board (busy board light) – few parts, lots to do
A sensory board is a solid base with safe everyday elements for turning, sliding and feeling. It’s great for “I want to do something” hands – without you ending up vacuuming rice out of the sofa cracks.
Materials
The sturdier the base, the more relaxed the playtime later. You’ll need a small board (smooth, splinter-free), screws or very strong glue (adults only), and a few large, robust elements: e.g. large wooden rings, wide ribbons, a large piece of hook-and-loop tape, a sturdy furniture handle or a large turning knob from around the house (only if it can be mounted really firmly).
Steps (approx. 25–40 minutes)
- Prepare the board: Check the surface, sand lightly if needed (no splinters).
- Choose elements: Only parts that are large and don’t come loose easily.
- Mount: Screwing on firmly is safest; glue only if it truly holds permanently.
- Edge check: Nothing may be sharp, nothing may stick out.
- Pull test: Give everything a good tug (you’re stronger than a toddler, that’s the point).
Safety note: Avoid magnets and button cell batteries completely. The Verbraucherzentrale NRW (consumer advice centre) points out, among other things, that secure battery compartments and warning labels are important. Source
Play variations
Less is more here – otherwise it turns into a “seek-and-find board”. “Turn the handle”, “Pull the ribbon”, “Hook-and-loop open/closed”, “Find the rough one”. You can always add another element later.
Safety
Everything must be permanently attached, not just “barely holding”. Check regularly whether screws are loosening or glued spots are giving way – especially if the board likes to be carried around the home.
Age
Exciting from toddler age on, as long as the parts are large and firmly attached. For very young babies, “looking and feeling” is more fitting – the bottle and textures are often easier there.
DIY idea 5: Sorting & pouring tray – tidy play without small-parts drama
A sorting & pouring tray is a flat box or tray in which materials stay safely contained. It helps children who love tipping, pouring and doing it “again” – and it helps you with clean-up.
Materials
A tray with a rim is half the battle. You’ll need a tray or flat box with a rim, plus large sorting pieces (large pom-poms, large lids, large wooden clothespins) or, for older children, pouring materials such as pasta/rice (only under supervision and with a clear rule).
Steps (approx. 10–15 minutes)
- Choose a base: A tray with a rim, so nothing escapes right away.
- Portion the material: Start with a little – you can always add more.
- Give a task: “Sort by colour”, “All the round ones here”, “Pour from left to right”.
- Clean-up trick: At the end, tip everything back into the jar/bag – done.
Practical tip: If it’s the big tipping-out phase right now: hand out only 6–10 pieces. Less chaos, more success.
Play variations
This is a great way to give “tasks in bite-sized pieces”. “Find all the soft pieces”, “Make a row”, “Pour slowly”, “Can you hear the difference between pasta and lids?”
Safety
Pouring materials are only relaxed once the mouthing phase is no longer an issue. If your child still puts a lot in their mouth, stick with large pieces – or use closed variants like the bottle and touch bag.
Age
Possible early on with large pieces, with pouring materials rather later. You know your child best: if “tasting with the mouth” is still the norm, stick with large pieces.
Which materials make sense – and which are better avoided?
The smaller the child, the more “boring but safe” pays off. With DIY especially, the choice of material matters more than the idea itself.
- Well suited: large pieces of fabric, felt, sponges, large pom-poms, wide ribbons, large lids
- With caution: rice/lentils/pasta (only if suitable, under supervision, and not for children in the mouthing phase)
- Better left out: magnets, button cell batteries, very small beads, brittle parts, long strings for small children
Warning labels and safe construction offer guidance. The Verbraucherzentrale NRW advises, among other things, paying attention to warning labels and swallowable small parts, and also names the CE marking and secure battery compartments as important points. Source
How to check DIY toys before every use (2-minute check)
A quick check before playtime prevents most DIY mishaps. Make it a habit – like giving a bike tyre a quick squeeze.
- Pull test: Tug on everything that could stick out (ribbon, hook-and-loop tape, handle).
- Seal test: Squeeze and shake bottles/bags firmly once – ideally over the sink.
- Edge check: No splinters, no sharp corners, nothing prickly.
- Parts check: If something has become smaller or is crumbling: get rid of it.
- Cleanliness: For natural materials: dry, clean, odour-free; if in doubt, throw it away.
FAQ
From what age does it make sense to make sensory toys yourself?
Sensory play is possible even in babyhood, as long as everything is large, sturdy and safe. For babies, tightly sealed variants such as a sensory bottle or very sturdy tactile elements are especially suitable. Once children start sorting and comparing more purposefully, tray and sorting games become more exciting. During the mouthing phase, always stick with large pieces.
Which materials are safe for making sensory toys yourself?
Large, soft, non-crumbling materials without small parts are the safest. Fabric strips, felt, sponge pieces and large pom-poms work well. Magnets, button cell batteries and very small parts are problematic. According to the Bavarian consumer portal (LGL), small parts are defined, among other things, by the test cylinder (Ø 31.7 mm). Source
How do I seal sensory bottles safely?
Safest is an intact screw lid plus extra tape protection and a seal test. Twist the lid on tightly, secure it all the way around with strong adhesive tape and shake the bottle over the sink. If moisture escapes anywhere, seal it again. For small children, use only large contents that can’t be swallowed.
How can I make sensory toys myself if I have hardly any time?
The sensory bottle and touch bag are the quickest, because you only need to fill and secure them. Take a PET bottle or a sturdy zip bag, choose large, soft filling pieces and secure the closure with extra tape. In 10 minutes you’ll have something you can pull out again and again.
In closing: better simple – and used often
The best DIY sensory toy is the one that is safe and actually makes it into everyday life. If you’re now in the mood to bring sensory play into your day without crafting: in our sensory toys category you’ll find suitable ideas. And if you’re more after “grasping, turning, practising”, also take a look at motor skills toys. As we say up north: don’t make it harder on yourself than necessary.